
When it comes to professional eyelash extensions, multiple elements work together to determine whether a set looks exceptional or just average. Products matter, mapping matters, and technique matters — but there’s another factor that quietly decides everything: the shape of your fans.
You can own premium-quality lashes, the most precise tweezers, and an adhesive that holds like a loyal best friend. But if your fans are uneven, messy, or collapsing the moment you pick them up, the finished set will never achieve that clean, full, camera-ready result.
This article dives into the essentials of fan shape — why it’s important, what commonly goes wrong, how to correct mistakes, and how to practice so your work stays consistently flawless.
Why Fan Shape Matters (It’s More Than Aesthetics)
Many newer lash artists assume that fan shape only affects appearance, but it influences far more. Think of it like a haircut: anyone can cut hair, but only a trained stylist gives you a shape that grows out well, enhances your features, and actually feels right.
Here’s what fan shape impacts:
1. Visual Style
The openness of a fan determines whether the lash line looks airy and textured or bold and defined.
Narrow fans create density and eyeliner-like depth.
Wider fans give that fluffy, soft-focus, Pinterest-style dimension.
2. Retention
A fan with a bulky or uneven base won’t bond properly. A smooth, tapered base adheres better and lasts longer.
3. Client Comfort
Poorly formed fans cause discomfort. Heavy bases, crossed stems, and excess adhesive can irritate the eyelid. A clean base feels weightless.
4. Professional Reputation
Clients may not know why your work looks cleaner, but other artists will. Flawless fan work instantly sets you apart in the industry.
The Base: The Foundation of Every Fan
If the base is wrong, the fan cannot be saved. Common mistakes include:
Base too long: absorbs excessive glue, creating clumping.
Base too short: unstable and prone to premature shedding.
Stems crossed: produces a tangled, unpolished lash line.
The ideal base is neat, tapered, and proportional to the fan size — enough adhesive for secure bonding, but never bulky.
Fan Width: Finding the “Just Right” Spread
A balanced fan is neither too open nor too tight
3D Fans — medium width works best for definition + softness.
5D Fans — slightly wider, offering fluff with structure.
7D+ Fans — wide and airy, but spacing must stay consistent to avoid a “messy” effect.
Problems to watch for:
Too narrow: creates a spiky, heavy look.
Too wide: looks soft but weakens bonding.
Pro Tip:
Practice with a ruler or grid palette. Training your eyes to recognize proportions dramatically improves consistency.
Fan Uniformity: The Element That Makes Sets Look Expensive
If fan shape is the foundation, uniformity is the finishing touch. Perfect spacing and symmetry produce a clean, cohesive lash line.
What can go wrong:
Uneven spacing
Over-spreading during pickup
Oversaturated bases
Fans are collapsing due to a weak grip
Non-uniform fans lead to patchy, chaotic results — the opposite of a polished, professional set.
When every fan looks the same, you save correction time and your overall set looks far more refined.
Tools & Techniques: When Your Tools Sabotage You
Fan technique isn’t just about hand skill — tools make a huge difference. Poor tweezers create poor fans, no matter how experienced you are.
Common Methods & Their Risks
Wiggle Method — useful, but incorrect pressure distorts the base.
Tape Method — easy to overspread fans.
Pinching — consistent, but sticky bases can form easily.
Peel & Pop — fast, but prone to collapsing if done imprecisely.
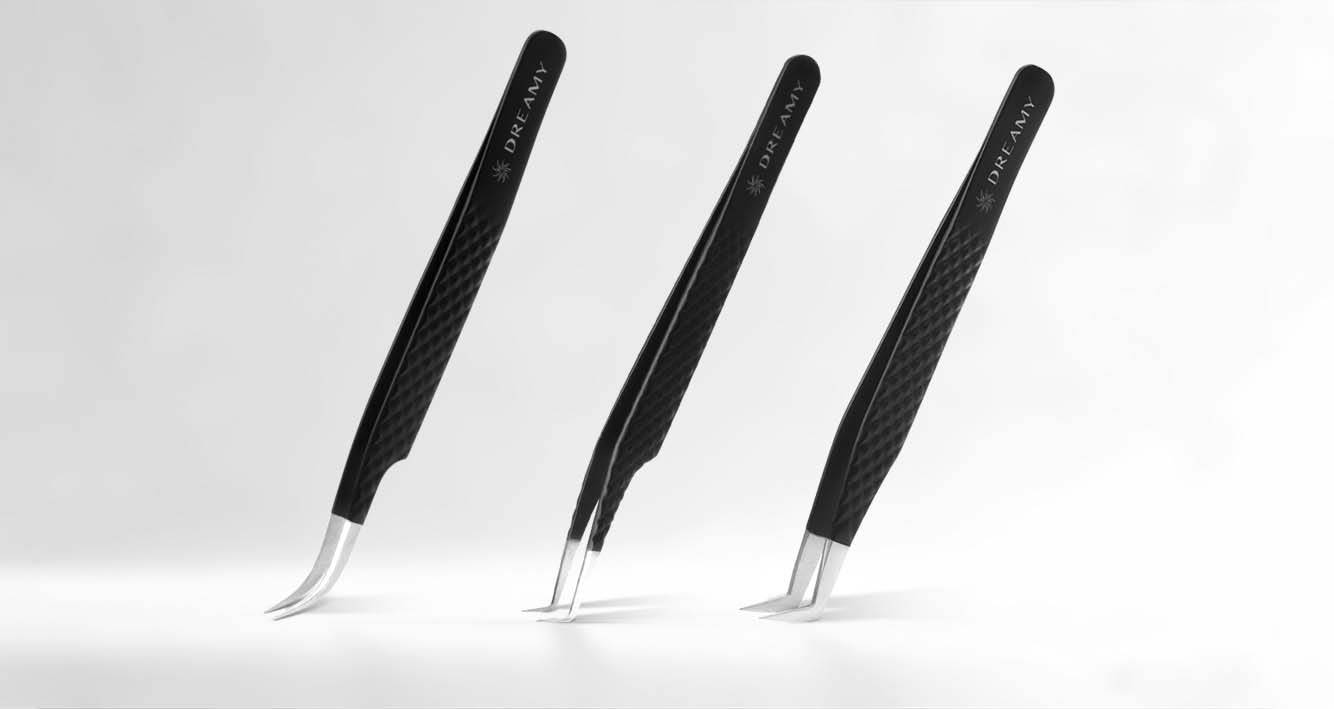
Choose tweezers with a sharp, even grip, and pair them with an adhesive that matches your working speed.
Slow adhesive = fans closing before placement
Fast adhesive = rushing and panicking
Practice: The Real Secret Behind Perfect Fans
Consistency comes from repetition. No expert becomes one by practicing occasionally — fan control is muscle memory.
Effective Exercises
Grid and ruler drills
Fan repetition drills
Practice strips with increasing complexity
Keep examples of your best fans as references, and discard the failed ones so you don’t normalize messy results.
Small, consistent practice leads to major improvement.
Quick Pro Tips to Improve Instantly
Evaluate fans against a light background to catch imperfections.
Refresh your adhesive frequently.
Prioritize quality over speed — ten perfect fans outperform thirty messy ones.
Train your eye daily to recognize symmetry and spacing.
FAQ
Q: Why do my fans keep closing?
A: Too much adhesive or slow placement. Try a faster glue and reduce base saturation.
Q: Why do my fans keep crossing?
A: Over-tight tweezers. Relax your grip or switch to the pinching method.
Q: What’s the best width for a 5D fan?
A: Medium-wide — balanced between density and softness.
Final Thoughts
Fan shape isn’t just technique — it’s artistry. It’s the step that elevates a set from “looks nice” to “who did your lashes?!”
Master your basics. Adjust your widths. Pursue uniformity relentlessly. The more refined your fan work becomes, the better your retention, the cleaner your sets, and the more loyal your clients.
In the lash world, consistency is everything, and perfectly structured fans are the jewels that crown your craft.